소개
이 플러그인은 모든 r6/input/*.xml 파일을 찾아 r6/config/의 적절한 입력 구성 파일(input config)과 병합하고 그 결과를 r6/cache/에 저장합니다.
구성 파일은 engine/config/platform/pc/input_loader.ini에 작성되어, 게임에 병합된 .xml 파일을 로드하도록 지시합니다.
다운로드
Input Loader
This plugin looks for all r6/input/*.xml files and merges them with the appropriate input config file from r6/config/ and saves results to r6/cache/. A configuration file is written to engine/config/p
www.nexusmods.com
사전 설치
사이버펑크 2077 모드 | RED4ext 적용법
소개 RED4ext는 REDengine 4용 스크립트 확장 라이브러리입니다. 이를 통해 모더는 새로운 기능을 추가하고, 게임 동작을 수정하고, 새로운 스크립팅 기능을 추가하거나 자신의 플러그인에서 기존 기
dotobi-game.tistory.com
설치 순서
1. 해당 모드를 다운로드하고, 아래 경로를 참고하여 압축 해제합니다.
[사이버펑크 2077 설치 경로]\red4ext\plugins\input_loader\inputUserMappings.xml
[사이버펑크 2077 설치 경로]\red4ext\plugins\input_loader\input_loader.dll
[사이버펑크 2077 설치 경로]는 STEAM일 경우, 일반적으로 "C:\Program Files (x86)\Steam\steamapps\common\Cyberpunk 2077\" 입니다. 개인마다 다를 수 있습니다.
2. 게임을 즐깁니다.
로그 파일은 "[사이버펑크 2077 설치 경로]\red4ext\logs\input_loader.log" 에 쌓입니다.
삭제 순서
1. 아래 경로를 참고하여 파일 및 폴더를 삭제합니다.
[사이버펑크 2077 설치 경로]\red4ext\plugins\input_loader\inputUserMappings.xml
[사이버펑크 2077 설치 경로]\red4ext\plugins\input_loader\input_loader.dll
[사이버펑크 2077 설치 경로]는 STEAM일 경우, 일반적으로 "C:\Program Files (x86)\Steam\steamapps\common\Cyberpunk 2077\" 입니다. 개인마다 다를 수 있습니다.
노드 유형
현재 `<bindings>`의 자식 요소만 지원되지만, 모두 동일한 .xml 파일에 있을 수 있습니다(mod가 단일 .xml 파일을 갖도록 권장하기 위해). 노드 유형에 따라 블록이 새로운 `inputContexts.xml` 또는 `inputUserMappings.xml`에 자동으로 추가됩니다.
- inputUserMappings.xml
- mapping
- buttonGroup
- pairedAxes
- preset
- inputContexts.xml:
- blend
- context
- hold
- multitap
- repeat
- toggle
- acceptedEvents
노드 속성
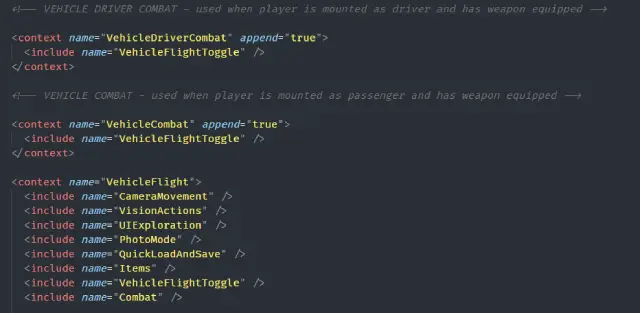
덮어쓰기를 방지하기 위해 노드에 `append="true"`를 추가할 수 있습니다. 여러 모드가 충돌 없이 이 작업을 수행할 수 있으므로 기능을 추가하는 데 권장되는 방법입니다. 예는 아래를 참조하십시오.
<?xml version="1.0"?>
<bindings>
<!-- Defines a custom context with a custom Action, mapped to UseConsumable_Button -->
<context name="MyCustomContext" >
<action name="ShakeAroundABit" map="UseConsumable_Button" />
</context>
<!-- Adds the custom context to VehicleDrive without overwriting existing definitions -->
<context name="VehicleDrive" append="true">
<include name="MyCustomContext" />
</context>
</bindings>


